Lighting a Spring-Fed Garden Pond for Evening Ambience: Inspiring Ideas
October 30, 2026 - Inspiration


October 29, 2026 - Design
October 28, 2026 - Sources
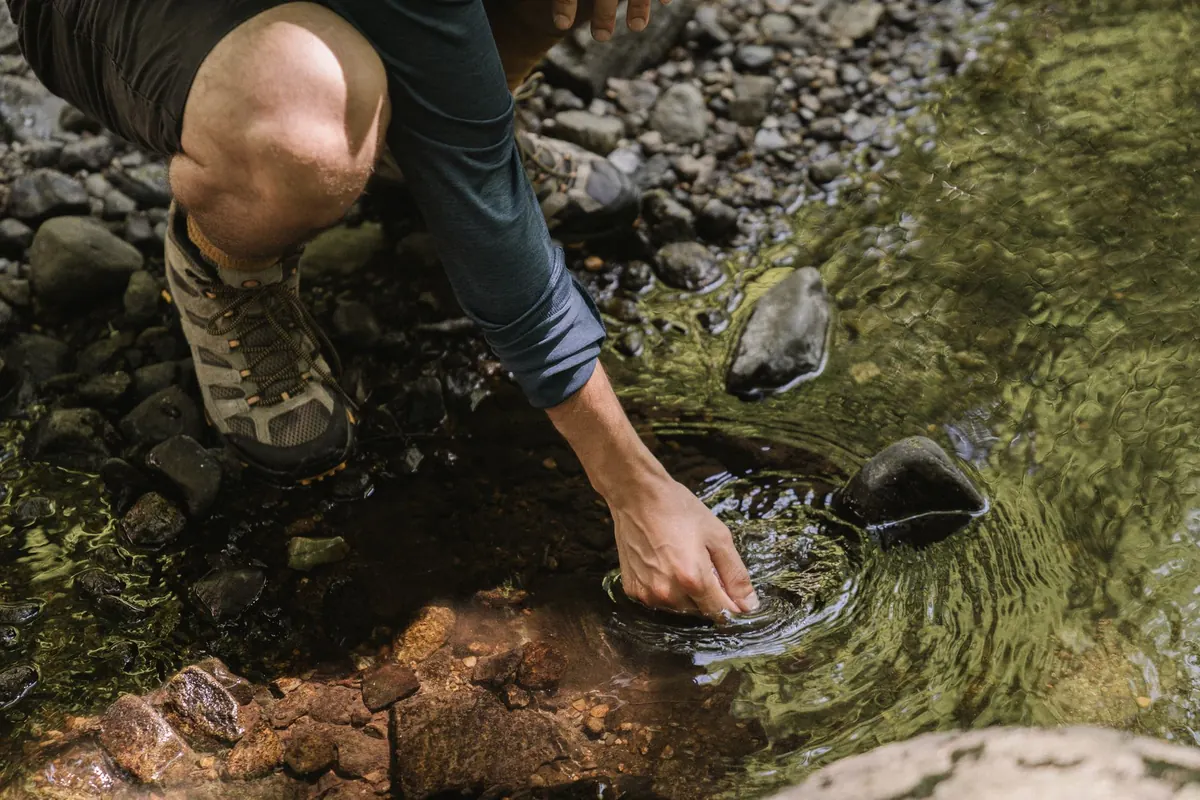
A spring on your property can supply a cabin without a pump, pressure tank, or electricity. The principle is simple: put the intake high, keep it clean, store water downhill from the source and uphill from the tap, and let gravity do the work. The details are where beginners get caught. A weak flow, a silted tank, or an air lock in the line can turn a good spring into a weekend of digging. This guide covers the decisions that matter most: where to place the intake, how to settle sediment, what storage to plan for, and how to keep the pipe falling in the right direction.
Before buying pipe, spend time at the spring. Watch it in wet weather and dry weather. A spring that runs hard in spring and trickles in late summer may still work if storage is large enough, but you need to know the difference. Check access: can you carry tools and materials to the intake? Is the ground stable? Is the spring uphill from the cabin by enough vertical drop to give useful pressure? Even a modest fall matters. As a rule of thumb, every metre of drop between the tank and the tap gives about 0.1 bar of pressure, minus friction losses in the pipe.
Protect the source. A spring box—a small, covered concrete or plastic chamber around the collection point—keeps leaves, animals, and surface runoff out. The outlet should draw water slightly above the floor so settled grit stays behind, and the box needs an overflow and a drain. If the spring is on a slope, cut a diversion ditch uphill to send surface water around the box. Have the water tested by a local lab before drinking it, and check access rights and local rules if the spring crosses a property boundary. If you are unsure, ask a local water professional.
The intake is the part most likely to fail. Place it in clean gravel or a screened chamber, not in the muddy bottom of a pool. Keep the screen coarse enough to pass a good flow but fine enough to stop leaves and grit. A fine screen at the source clogs quickly; it is better to settle sediment later than to fight a blocked intake every week.
Spring water can look clear and still carry fine silt. If that silt reaches the tank, it reduces storage and clogs taps. The cheapest fix is a settling tank: a small tank between the spring and the main storage tank, with the inlet near the top and the outlet a little lower, so water slows down and particles drop. Size it for a few hours of flow, not weeks.
Then add a coarse filter, such as a washable mesh or gravel-and-sand filter, before the main tank. A fine cartridge filter can be used at the cabin, but it should not be your only defence. It will clog fast if the water carries grit. Keep filters accessible, label them, and write the cleaning date on the housing. In cold climates, drain filters before winter or keep them in a frost-free box.
A gravity system is only as good as its storage. The tank does three jobs: it holds water for dry spells, it lets sediment settle, and it creates pressure if you place it above the cabin. Plan for at least a few days of normal use, plus a margin for guests and laundry. If your spring flow is low, a larger tank is often more useful than a bigger pipe.
Place the tank on a level, stable base. Use a lid, an insect screen on the vent, an overflow that discharges away from the foundation, and a drain at the low point. Keep the outlet a few centimetres above the tank floor so sediment stays out. Insulate or bury the tank if freezing is a risk. Remember that tank elevation, not tank size, creates pressure: a big tank at the same height gives no more pressure than a small one.
Air and sediment both travel downhill. A gravity line should fall continuously from the intake to the tank, and from the tank to the cabin. Avoid dips and high points where air can collect. If a high point is unavoidable, fit an air release valve or a small bleed valve.
Aim for a continuous fall of at least 1 percent—about 1 cm per metre—where the ground allows. Steeper is fine, but it can increase pressure at the bottom and make joints work harder. Use the largest pipe your terrain and fittings allow; bigger pipe reduces friction and gives better flow at low heads. Bury the line below frost depth or insulate it, and bed it in sand or fine soil free of sharp stones.
A gravity system is low-tech, not no-tech. Check the intake screen after heavy rain, clean the settling tank, inspect the overflow, and drain the filter. Before winter, isolate and drain exposed pipes. Keep a spare screen and a few fittings. If the flow drops, check the intake first, then the filter, then the air lock. Most problems are simple.
Be realistic about water quality and legal access. A spring can be clean-looking and still need treatment. If the cabin is a permanent home or hosts guests, test the water regularly and follow local health guidance. If the spring is shared, agree on maintenance with neighbours in writing. A well-built gravity system can last for decades, but it rewards the person who walks the line, checks the box, and keeps the tank lid tight.
Photo: Sonny Sixteen / Pexels

A practical, low-glare guide to lighting a spring-fed pond after dark: where to place fixtures, how to catch moving...
A practical layout guide for building a reading corner around a swing-arm wall lamp, from chair placement and lamp...
October 29, 2026 - Design
October 28, 2026 - Sources
Copyright © 2026 Fari Della Sorgente. All Right Reserved.